Building your own kitchen cabinets is not difficult, but it takes patience and precision. There’s no need to pay a premium price for something that, with some basic woodworking knowledge and tools, you can build yourself for almost half the cost.
Whether you plan to build your cabinets using hardwood-veneer plywood, solid MDF, plain or melamine-covered particleboard, and solid wood, here are some steps listed below to help you get started on building kitchen cabinets from scratch.
- The first step is to measure the space your current cabinets occupy with a measuring tape. If you want to change the dimensions of the cabinets, make sure to leave yourself enough room to move freely through the kitchen. This is one of the most crucial steps in the project. Taking the time to measure accurately will save time later on. Another tip when it comes to distancing the countertop from the cabinet is to leave enough space (30 cm or more) for easy cleaning.
- Once you have all your measurements, the next step is to put your plan on paper (you don’t have to be an artist, a simple sketch is fine). This way you can visualize your plan, and if you have a friend or family member helping you they can get a general idea of how you want the cabinets to look after the renovation.
- Next, you’ll want to think about the style and design. Two design “rules” when it comes to kitchen cabinets deal with color and illumination. A popular choice to brighten up a dull-lit kitchen is choosing a light color or natural wood, which is known to brighten and visually enlarge a space. A good idea is to discuss what you’re looking for with a sales representative at the lumber store. You’ll have to consider types of wood and handles, as well as shelving within the cabinets. Purchase your materials according to the measurements you took. You may want to purchase ready-made cabinet doors, which you can order to your specifications, according to your measurements and with the detailing of your choice.
- Once you’ve received all the material you need, then you can get started on the next step. First, lay all your supplies out at home, to ensure you have all the necessary parts. Next, label all of the parts to avoid confusion.
- Now it’s time to assemble the cabinet base (i.e. all sides except the front) using heavy duty glue. If the glue isn’t strong enough, use screws. Only screw parts together on the sides or inside, so the screws won’t be visible once the cabinets are installed.
- Lay the base on its back. Place the cabinet door on top and mark where the hinges will be installed. Check that the hinges will be even and level.
- Screw the hinges into place using screws and a screwdriver [source: Baird]. The cabinet door should now open and close effortlessly and rest evenly on the base.
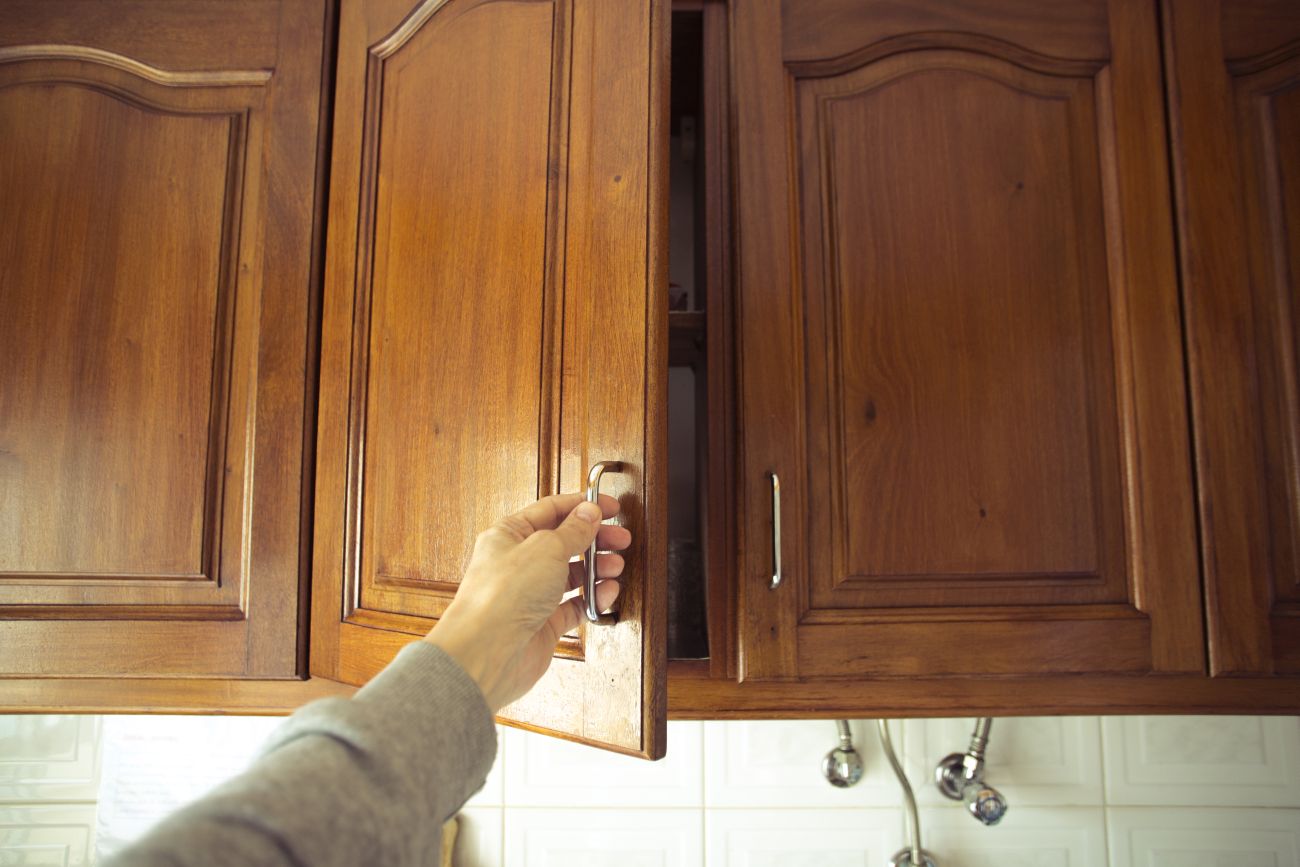
- Install the door’s decorative touches, including handles and knobs. Depending on the style, they can be installed using glue or a drill and nails [source: Rockler].
- The last step is to place the cabinet upright. Install the cabinet using a drill and screws. It’s a good idea to have someone help you with this part to ensure that all the cabinets are installed evenly.
Cabinetmaking is not as hard as it looks – it simply is building a series of boxes over and over. If you lack the time or basic carpentry skill to build cabinets completely from scratch, then try considering using pre-existing drawers and doors, or seek help from building professionals either online or at your local home hardware store.